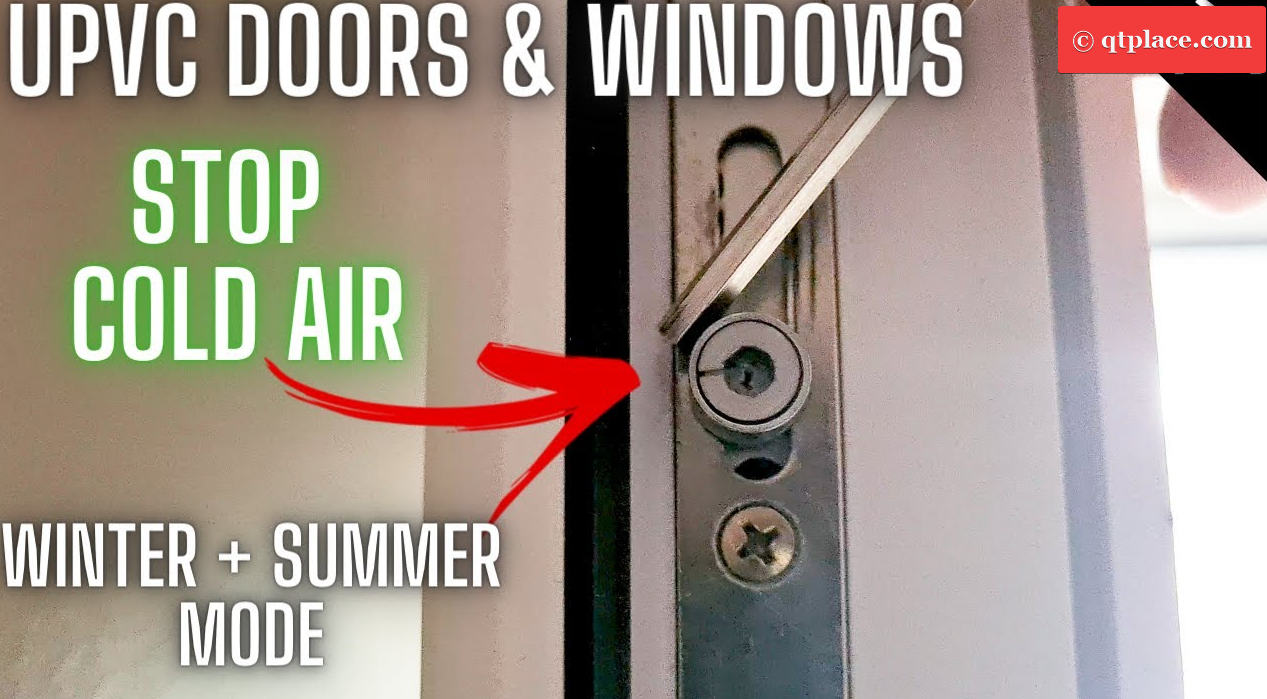
Changing the seal on a plastic window is an important task that can help to keep your home well insulated and free from drafts, dust and moisture. Over time, the rubber seal on a plastic window can become worn or damaged, allowing heat to escape and cold air to enter. In this article, we will discuss how to change the seal on a plastic window.
Step 1: Remove the Old Seal
The first step in changing the seal on a plastic window is to remove the old seal. Using a sharp knife or scraper, carefully remove the old seal from the window frame. Be sure to remove all of the old seal, including any adhesive that may be left behind.
Step 2: Clean the Window Frame
Once the old seal has been removed, use a clean cloth to wipe down the window frame. Be sure to remove any debris, dust, or old adhesive from the frame, ensuring that the surface is clean and dry before installing the new seal.

Step 3: Measure and Cut the New Seal
Measure the length and width of the window frame, and add a few centimeters to each measurement to ensure that the new seal will fit properly. Use a sharp knife or scissors to cut the new rubber seal to the appropriate length and width.
Step 4: Apply Adhesive to the Window Frame
Apply a small amount of adhesive to the window frame, ensuring that it is evenly distributed and covers the entire surface. Be sure to use an adhesive that is suitable for plastic materials.
Step 5: Install the New Seal
Carefully install the new seal onto the window frame, pressing it firmly into place. Be sure to press the seal down firmly along the entire length of the frame, ensuring that it is securely in place.
Step 6: Allow the Adhesive to Dry
Allow the adhesive to dry completely, according to the manufacturer’s instructions. This may take several hours or overnight, depending on the type of adhesive used.
Step 7: Test the Window
Once the adhesive has dried, test the window to ensure that the new seal is working properly. Close the window and check for any drafts or leaks. If necessary, apply additional adhesive or make adjustments to the seal to ensure a proper fit.
Step 8: Maintain Your Plastic Windows
Regular maintenance is essential to keeping your plastic windows in good condition and preventing the need for frequent seal replacements. Check the rubber seals on your windows regularly, and clean them with a damp cloth to prevent the buildup of dirt and debris. If you notice any signs of wear or damage, such as cracks, tears, or gaps, replace the seal immediately to prevent drafts and moisture from entering your home.
In conclusion, changing the seal on a plastic window is a straightforward process that can be completed in just a few simple steps. By following these steps and practicing regular maintenance, you can ensure that your plastic windows are working efficiently and effectively for years to come.

Additionally, it’s important to note that the type of rubber seal you choose can impact the effectiveness and longevity of your new seal. There are various types of rubber seals available on the market, including EPDM (ethylene propylene diene monomer) and silicone seals. EPDM seals are the most commonly used, as they are durable, flexible, and can withstand exposure to various weather conditions. Silicone seals, on the other hand, are more expensive but offer superior resistance to extreme temperatures and UV radiation.
When selecting a new rubber seal for your plastic window, be sure to choose a high-quality product that is designed for use with your specific window frame. This can help ensure a proper fit and better overall performance.
It’s also worth mentioning that changing the seal on a plastic window can be a messy job, so be sure to have a vacuum or broom and dustpan handy to clean up any debris or adhesive that may fall during the installation process.
Like this article? Read about “Replacing rubber bands on windows“
If you are uncomfortable with changing the seal on your plastic window yourself, or if you have older or damaged windows that require professional attention, consider contacting a window repair specialist. They can assess the condition of your windows, recommend the best course of action, and provide you with a quote for their services.
In conclusion, changing the seal on a plastic window is a relatively simple task that can be completed with a few basic tools and some patience. By following these steps and practicing regular maintenance, you can ensure that your plastic windows are working efficiently and effectively for years to come.


